How To Install Arduino Ide And Upload First Sketch Uk
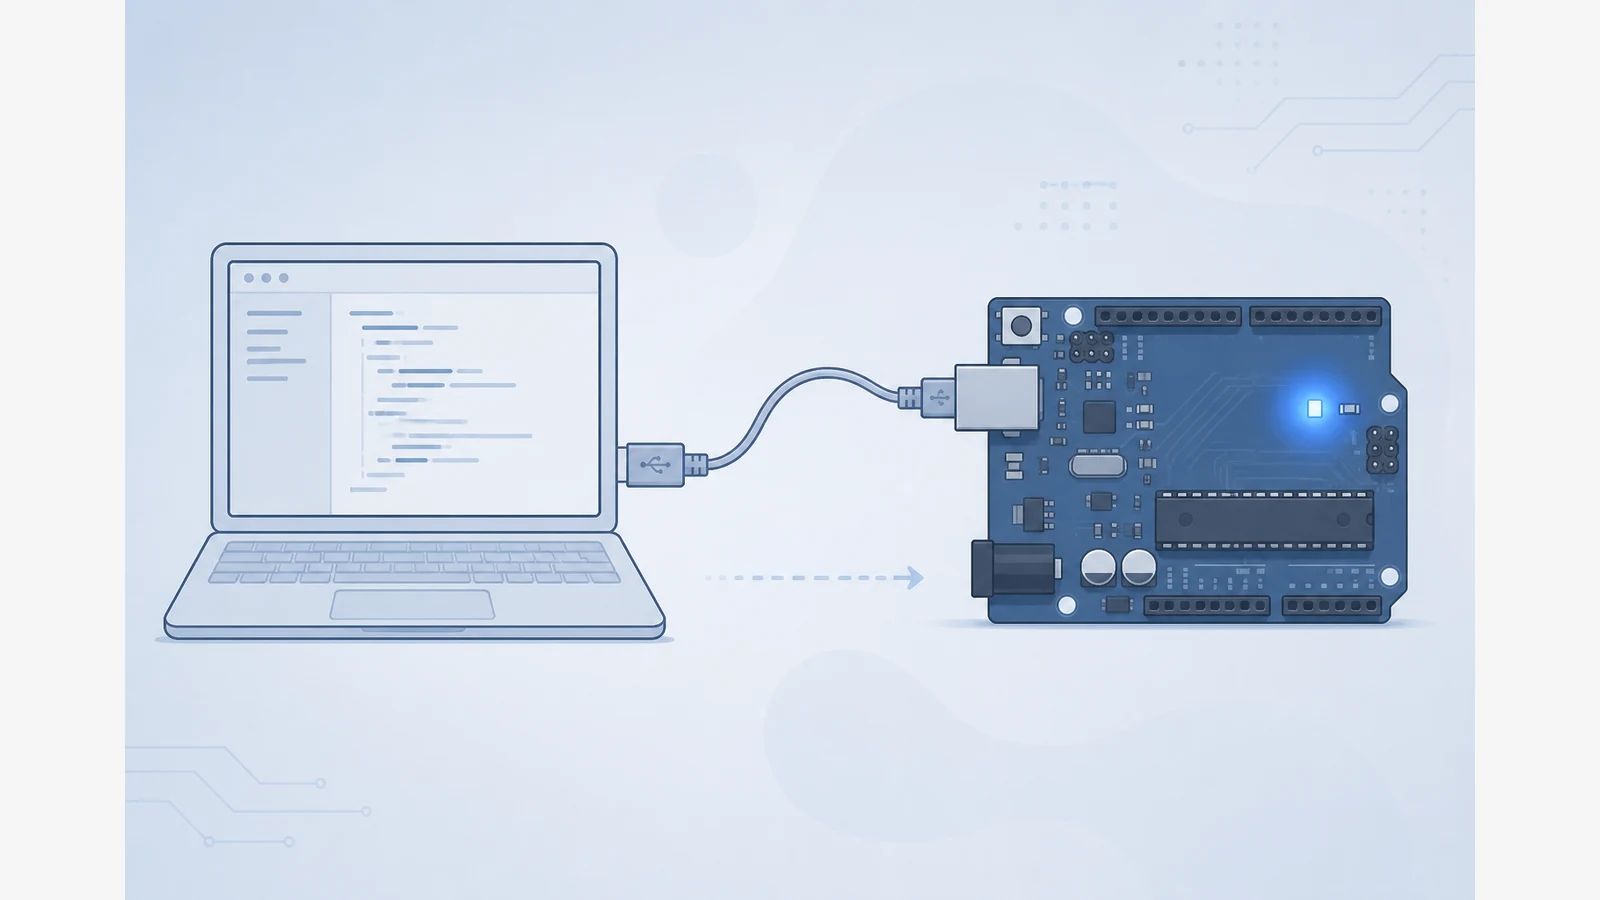
To get a first Blink working on a UK Windows or Mac PC: download Arduino IDE 2 from Arduino, connect the board with a data USB cable, select the correct board and port, open the Blink example, then upload. Official getting-started guidance frames Arduino as a board-plus-IDE learning path, and the Help Centre documents both install and upload flows.
The usual first-hour traps here are charge-only cables and missing or mis-selected ports—not mysterious coding errors.
Step sequence that usually works
- Install Arduino IDE using Arduino’s download-and-install guidance for Windows, macOS or Linux.
- Connect the board with a cable that carries data. If the board never appears, swap the cable before changing software settings.
- Select board and port in the IDE so uploads know where to go.
- Open Blink from the built-in examples, then upload using Arduino’s documented sketch upload flow.
- Confirm success when the onboard LED pulses as the example intends.
If upload fails: a short diagnostic ladder
- Cable — try a known data cable and a different USB socket on the computer.
- Port — re-select the serial port after reconnecting; unplug/replug once.
- Board package — confirm the board family selected matches the board you actually have.
- Compatible-board drivers — only if the board still never enumerates; follow the board maker’s driver notes rather than guessing chip names.
This article is not a deep debug guide for exotic boards. Stay on Uno-class workflows until Blink is reliable.
What this is not for
Skip this path if you need advanced debugger workflows, non-Uno families first, or network-only setups. Finish the IDE-plus-Blink loop before layering shields, wireless modules or classroom imaging.
Once Blink works, return to kit planning with the starter-kit contents checklist, or compare board generations in R3 vs R4 for beginners. Families weighing pocket boards against breadboard kits can also read micro:bit vs Arduino for UK kids.